Technology Tips
Creating a Compressed Folder
Creating a Compressed (zipped) File
Windows Computers
This will open that drive location and you will have the files you are looking to attach.
Select all the files you want by clicking on the top one, holding down the Shift key and selecting the bottom one (if the files are not together, select the Ctrl key instead). Now all files should be highlighted as below
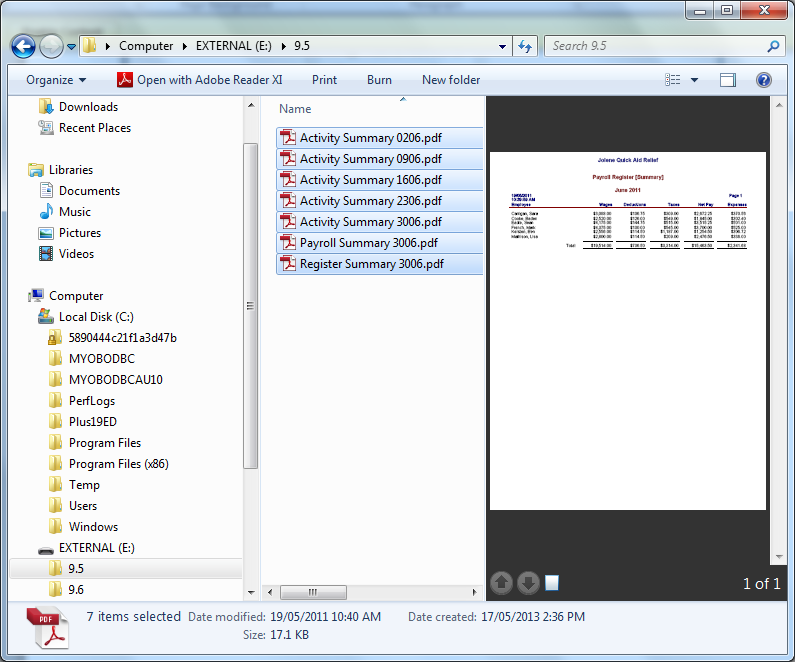
While hovering the mouse pointer over one of the highlighted files, right click.
Another pop up screen appears;
go down the list to ‘send to’ which will being up another pop up screen.
In the list (most likely the top item) will be Compressed (zipped) Folder. Select this folder.
A folder will be created in the original list and it will have a ‘zip’ through the middle of it as pictured below
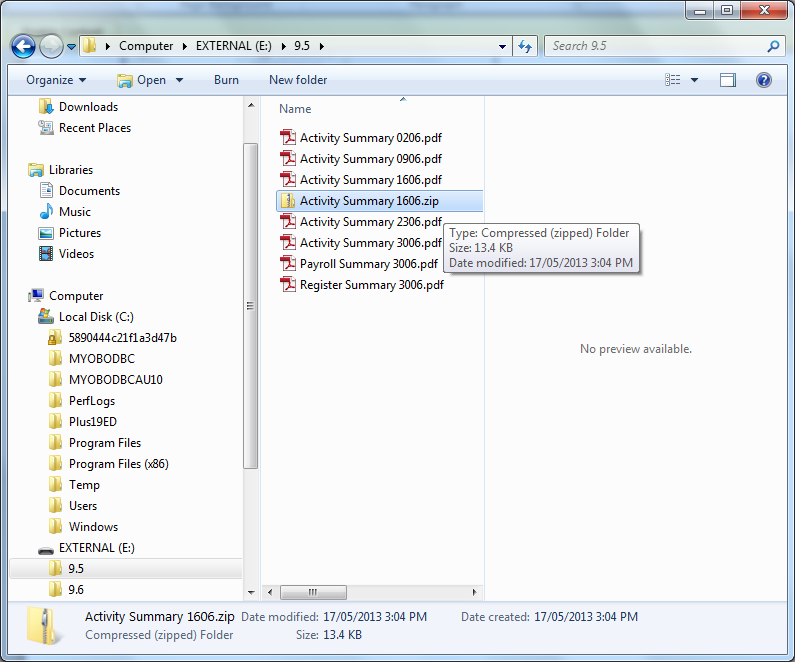
By right clicking on this file you can rename it to something suitable, such as the Chapter exercise you are including. Those files are now in the compressed folder and it can be uploaded onto Moodle. If you need to add additional files to that folder you can click and drag them in before uploading.
Using a MAC?
The process is very much the same on a MAC computer too.
Select the files or folders you want to compress in the Finder.Right click or Control click to display the pop-up menu
Select Compress to compress the files/folders
Once completed you will find a filename that ends in .zip next to your files.